

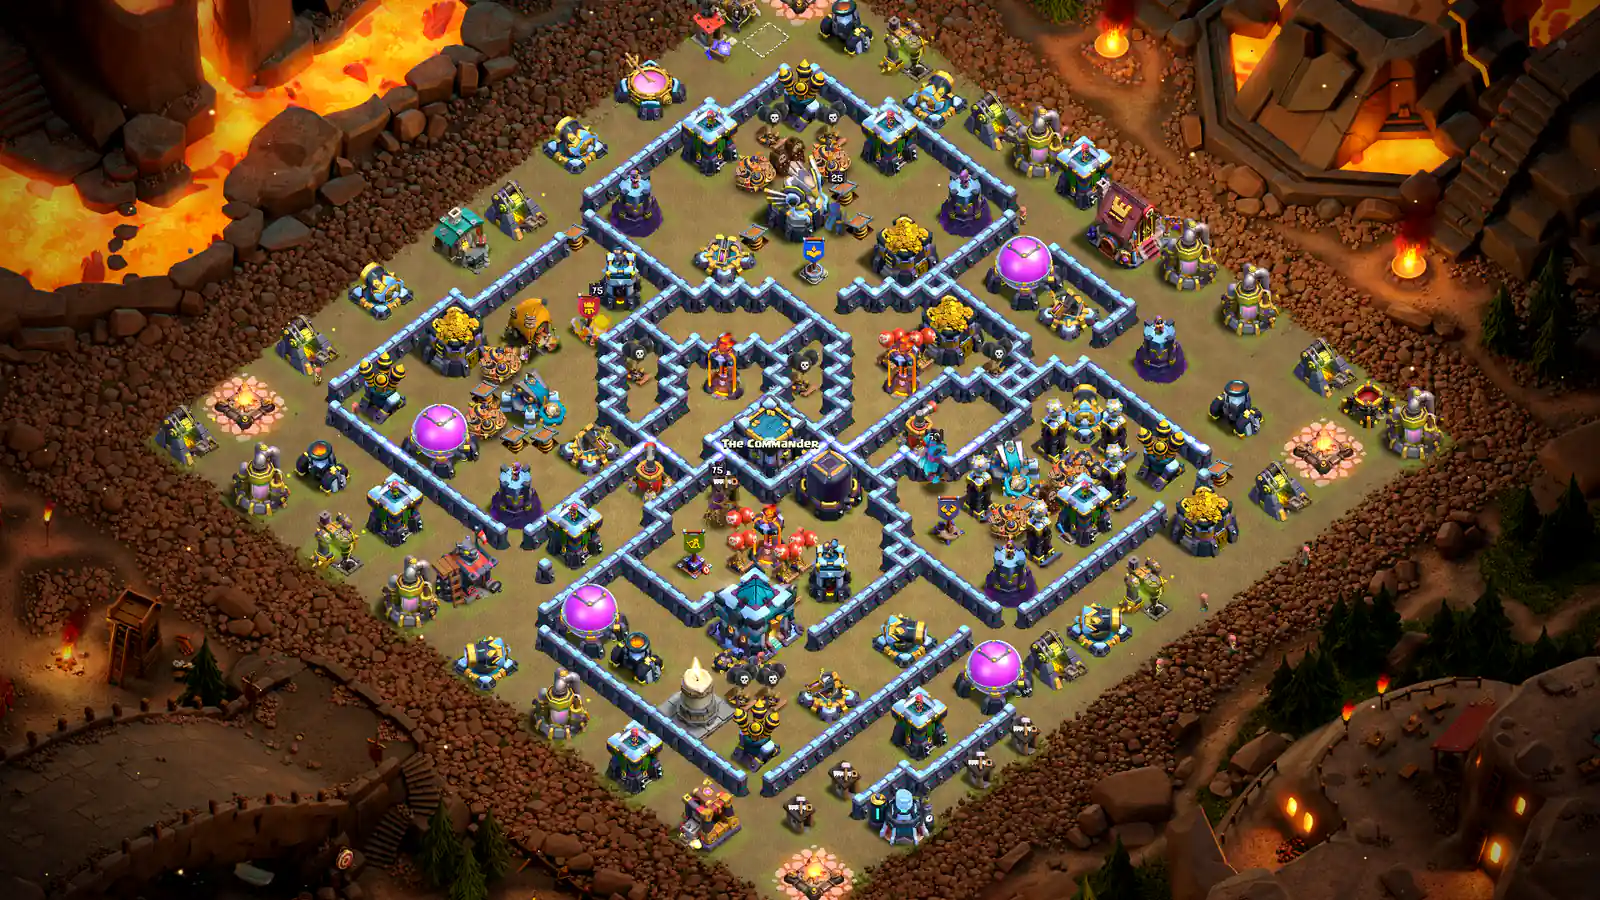
1. Split Town Hall and Eagle
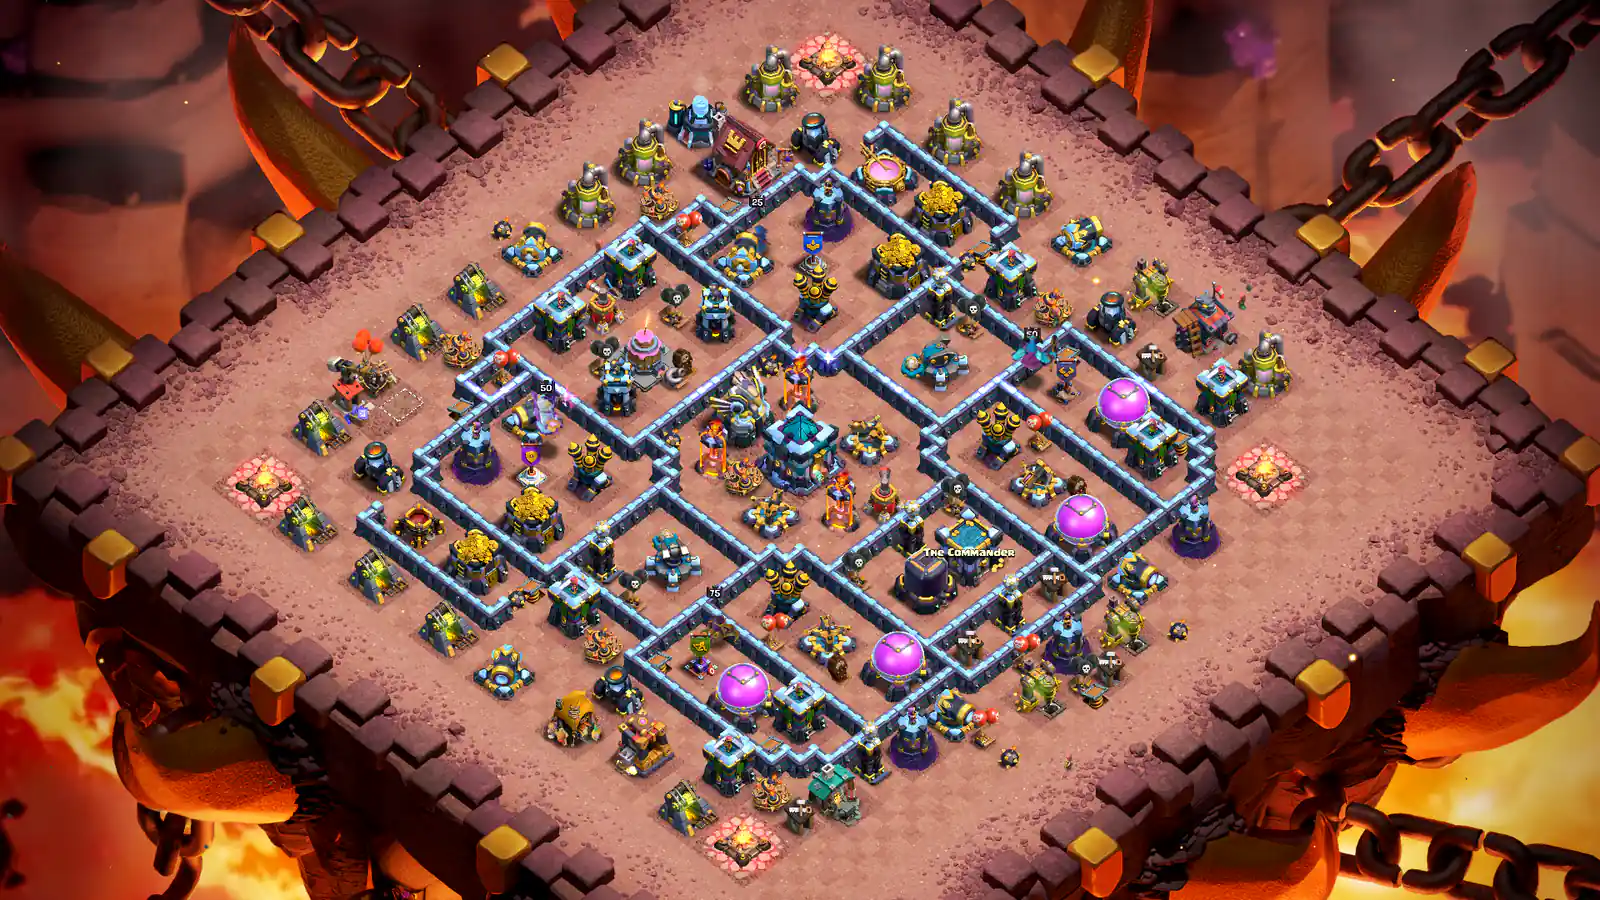
- I start at the Town Hall near the bottom. The Eagle sits at the top, across the narrow core rooms.
- The Scattershots sit on the left and right. A lower Town Hall entry leaves the Eagle at the back end.
I put these 10 TH13 bases in one place for War, CWL, farming, trophies and progress. I look at the Town Hall, Eagle and storage spots in each layout. You can open the member base page for the full notes and copy link.
I start with bases 1 and 7 for a Town Hall and Eagle on different sides. For storage spots, I compare bases 2 and 8. I look at base 4 for a central Town Hall and base 5 for a Town Hall on the right. My two progress options are bases 3 and 9.
I start with the type of base. Then I look at where the Town Hall, Eagle or storages sit.
| What you want to compare | Layouts | Where to look |
|---|---|---|
| War and CWL | 1, 5, 7 | Split Town Hall and Eagle, offset Town Hall or open core |
| Farming and hybrid | 2, 4, 8 | Four storage wings, a compact core or wide Gold wings |
| Trophy | 6 | Lower wall maze with the Eagle near the bottom |
| Trap | 10 | Air Bombs and Seeking Air Mines around the Town Hall |
| Progress | 3, 9 | T-shaped walls and eagle wall art |
Base 8 also fits War. I grouped it with farming and hybrid because of the Gold wings and upper Elixir storages.
I’ve added a full image and member page for each base. Tap the image to see it up close. View base & notes takes you to the page with the copy link.


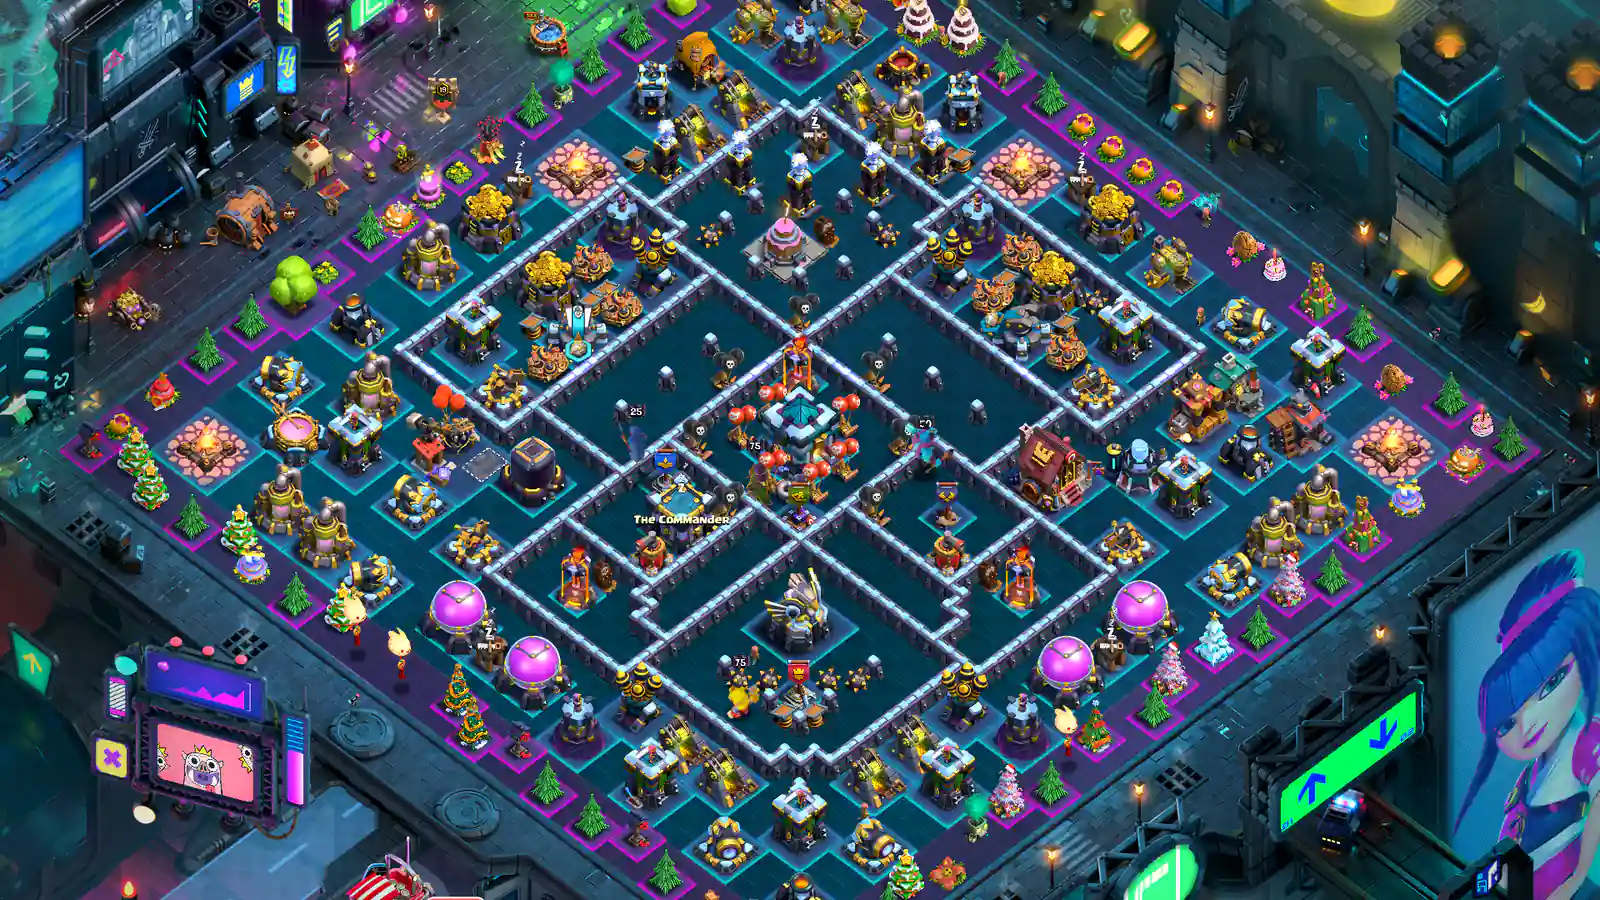
I look at the Town Hall and Eagle first. In base 1, they sit near opposite ends, with narrow wall channels between them. Base 7 has more open space above the Town Hall. In base 5, I follow the rooms from the Town Hall on the right to the Eagle at the upper left.
For farming, I look at the storage groups. Base 2 spreads them across four wings. Base 8 has Gold on the sides and several Elixir storages in the upper diamond. In base 4, the Town Hall, Eagle and Infernos sit close together in the core.
For a Queen Charge entry, I follow the outside buildings into the first wall opening. I look at which buildings need to go for the funnel, then follow the rooms toward the core. I call the far side the back end. In base 1, a lower Town Hall entry leaves the upper Eagle at the back end.
I keep each copy link on its member base page. Use View base & notes under the layout, then open the protected copy section.
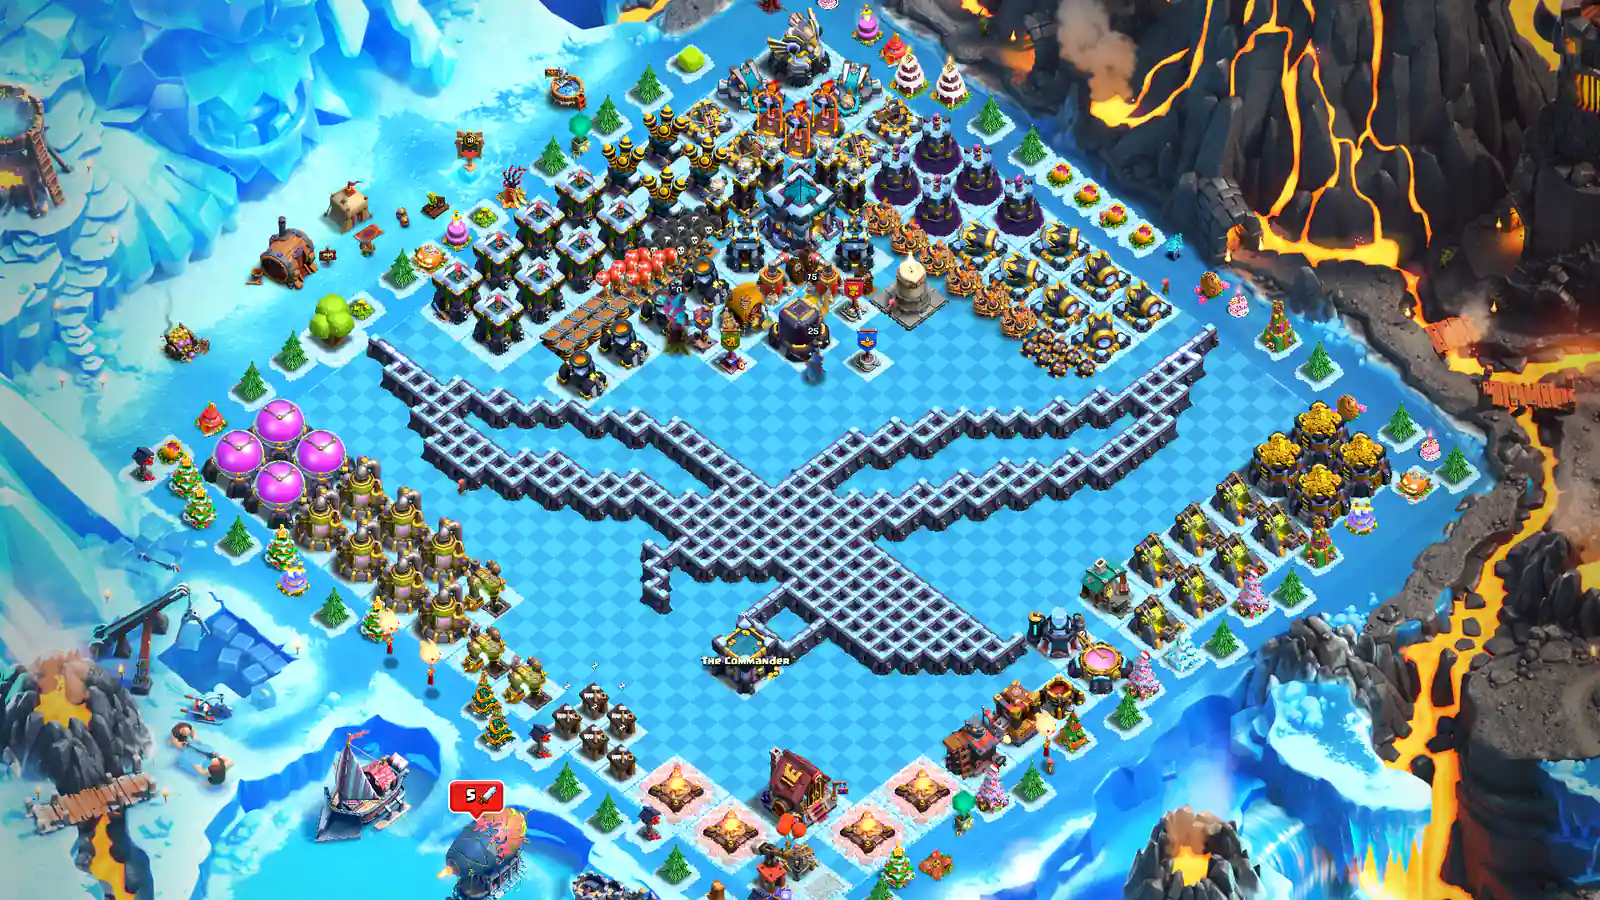
I included two progress bases. Base 3 has T-shaped walls. Base 9 has eagle wall art, with defenses above it and resource buildings on the sides.
I use base 5 as the offset Town Hall example here. Its Town Hall sits right of center, away from the Eagle at the upper left.
I included base 10 for its central trap group. Air Bombs and Seeking Air Mines sit around the Town Hall. Larger ground bomb groups sit near the upper shoulders.